
Hello my patient friends! If you are here for the #woodlandstitchalong, then let's get this party started!
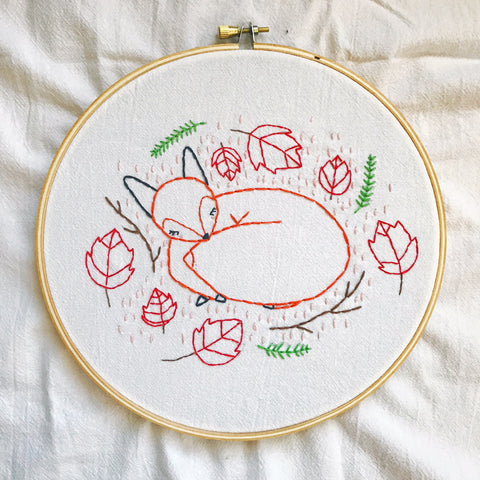
Eventually I plan on having a YouTube channel for showing you all of this, but for the sake of getting started I have a step by step guide through our first project: Sleeping Fox.
Difficulty Level: Beginner: back stitch and running stitch
Length of Time to Complete: 2 Episodes of "Victoria" + 2 Episodes of "The Marvelous Mrs. Maisel".

Supplies:
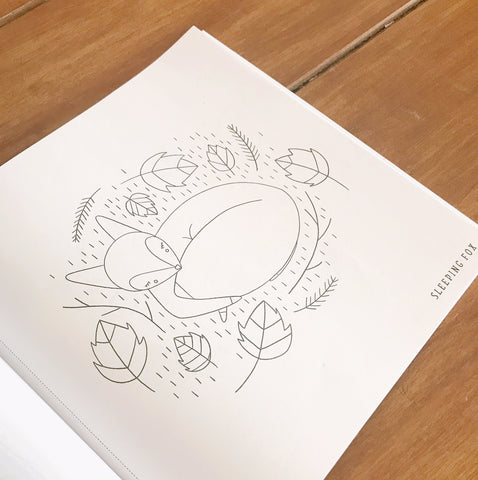
"Woodland Stitches" Book (available for purchase here)
1 Embroidery Hoop
1 Flour Sack Cotton Tea Towel (or cotton fabric of your choosing)
1 Embroidery Needle
5 Colors of DMC Embroidery Floss (I chose orange, brown, red, green, and pink)
Okay, here we go!
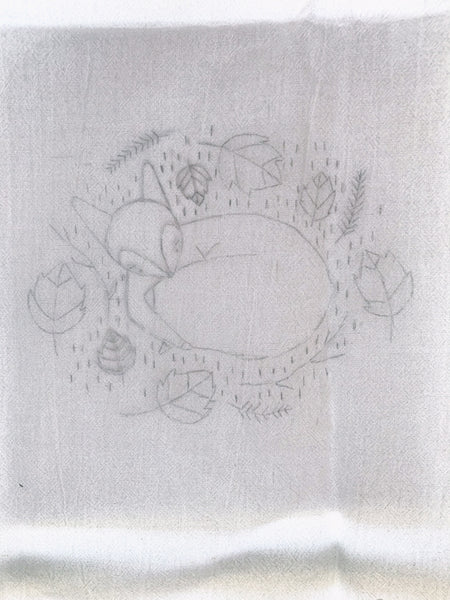
1. First, cut out your pattern along the dotted line.
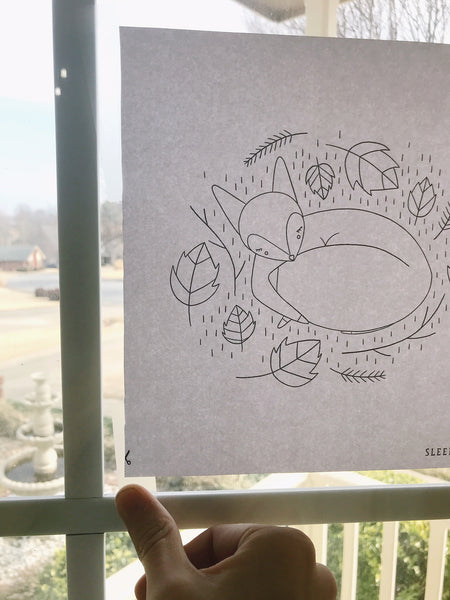
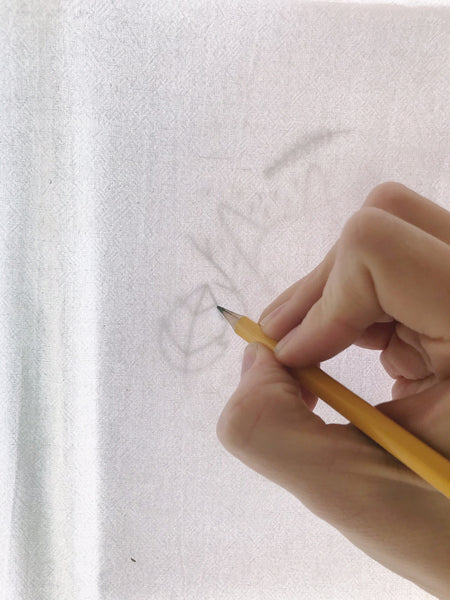
2. Tape your pattern to a light source. I'm using my front window. Then, tape your fabric right on top of your pattern so the light will shine through and you can trace your pattern right onto your fabric. Tip: It took me about 10 minutes to trace my pattern, but I'd give yourself a good 20 minutes of tracing time.

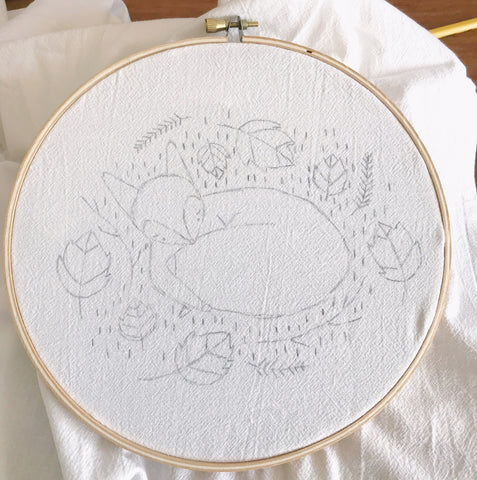
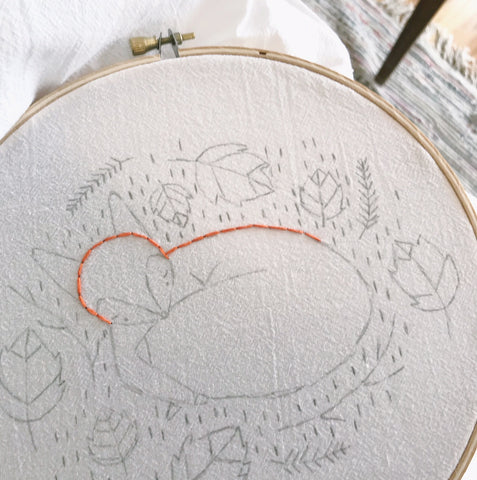
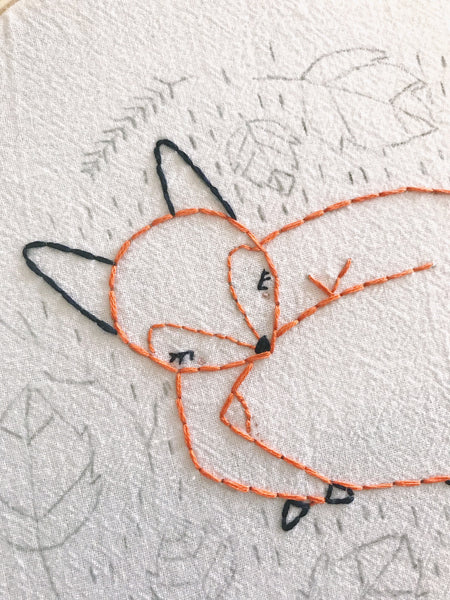
3. Next, remove your fabric from your window and put it inside of your hoop! Then, jump right in. I like to start with the outline of my animals. I used 2 strands of my orange floss and use a simple back stitch to go all the way around the fox.
4. After you outline your fox, grab your black DMC floss (2 strands) and outline your fox ears and feet. I used a simple back stitch.
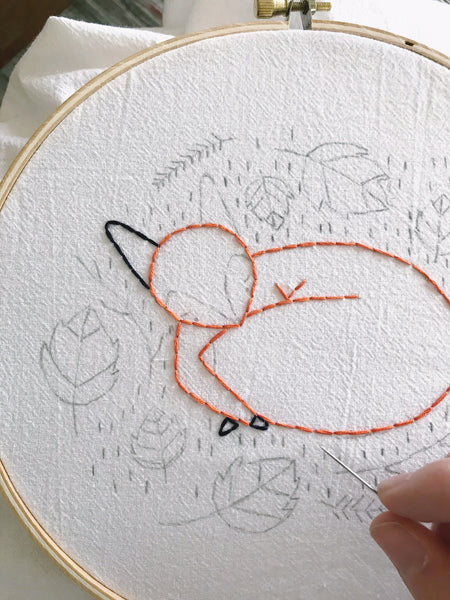
5. Next, lets tackle the face and tail! I used 1 strand of my black DMC floss and tiny little back stitches to make my fox's eyelashes and nose. I also grabbed my pink DMC floss and used a single strand of it to make some cute little cheek dots. I then used 1 strand of Orange DMC floss to make the outline of my fox's face and tail. Back Stitches.
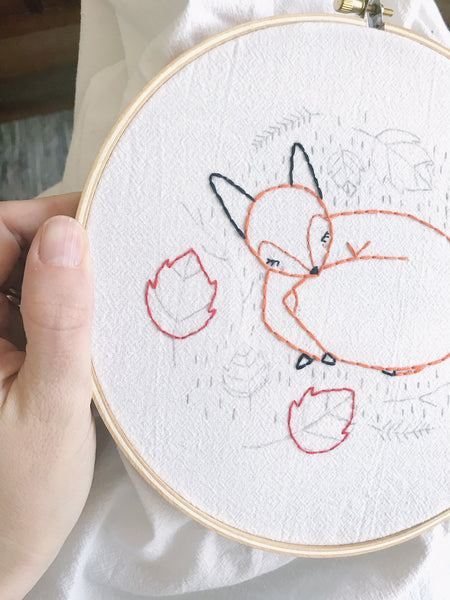
6. Next, let's work on the leaves. I used a single strand of red DMC floss and a simple back stitch to make the leaf, then a single strand of brown DMC floss on the stems. Again, lots of back stitches, just much much smaller.
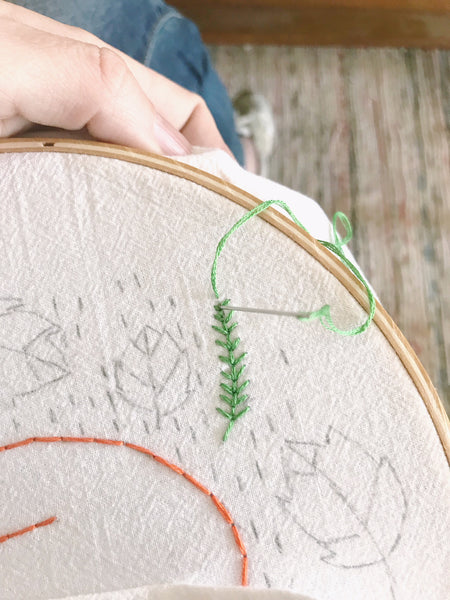
7. I kind of jump around when I'm doing my stitching thing (and I'm not an expert, just an enthusiast) so I started working on my brown branches and green sprigs next. I used 2 strands of brown DMC floss for my branches. I used 1 strand of green DMC floss for my sprigs. I used a simple Back Stitch for this as well. Doesn't it look so nice? You could also use a Feather Stitch for something a little more high end.

8. After my branches and sprigs were complete, I finished my leaves (which you probably already finished if you followed my steps!) And, after that, I worked on my cute little dashes that surround the fox. I used 2 strands light pink DMC Floss and a running stitch.
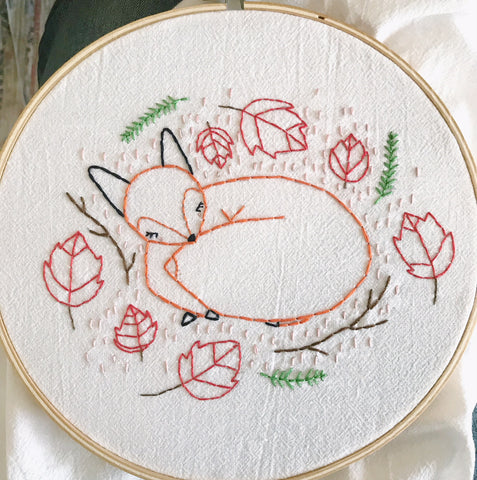
9. And then, you are DONE! I think this is mighty cute and a really fun project to jump into!
OKAY! GET TO STITCHING! We have 2 weeks to work on this pattern, and then we will move onto the next one. Share your progress as you go! Tag @gingiber on Instagram and then use hashtags #woodlandstitchalong and #woodlandstitches so that I can see and share your progress in my IG stories!