
Hello!

Here's a little FREE Raccoon Plush Pattern I designed today.
Supply List:
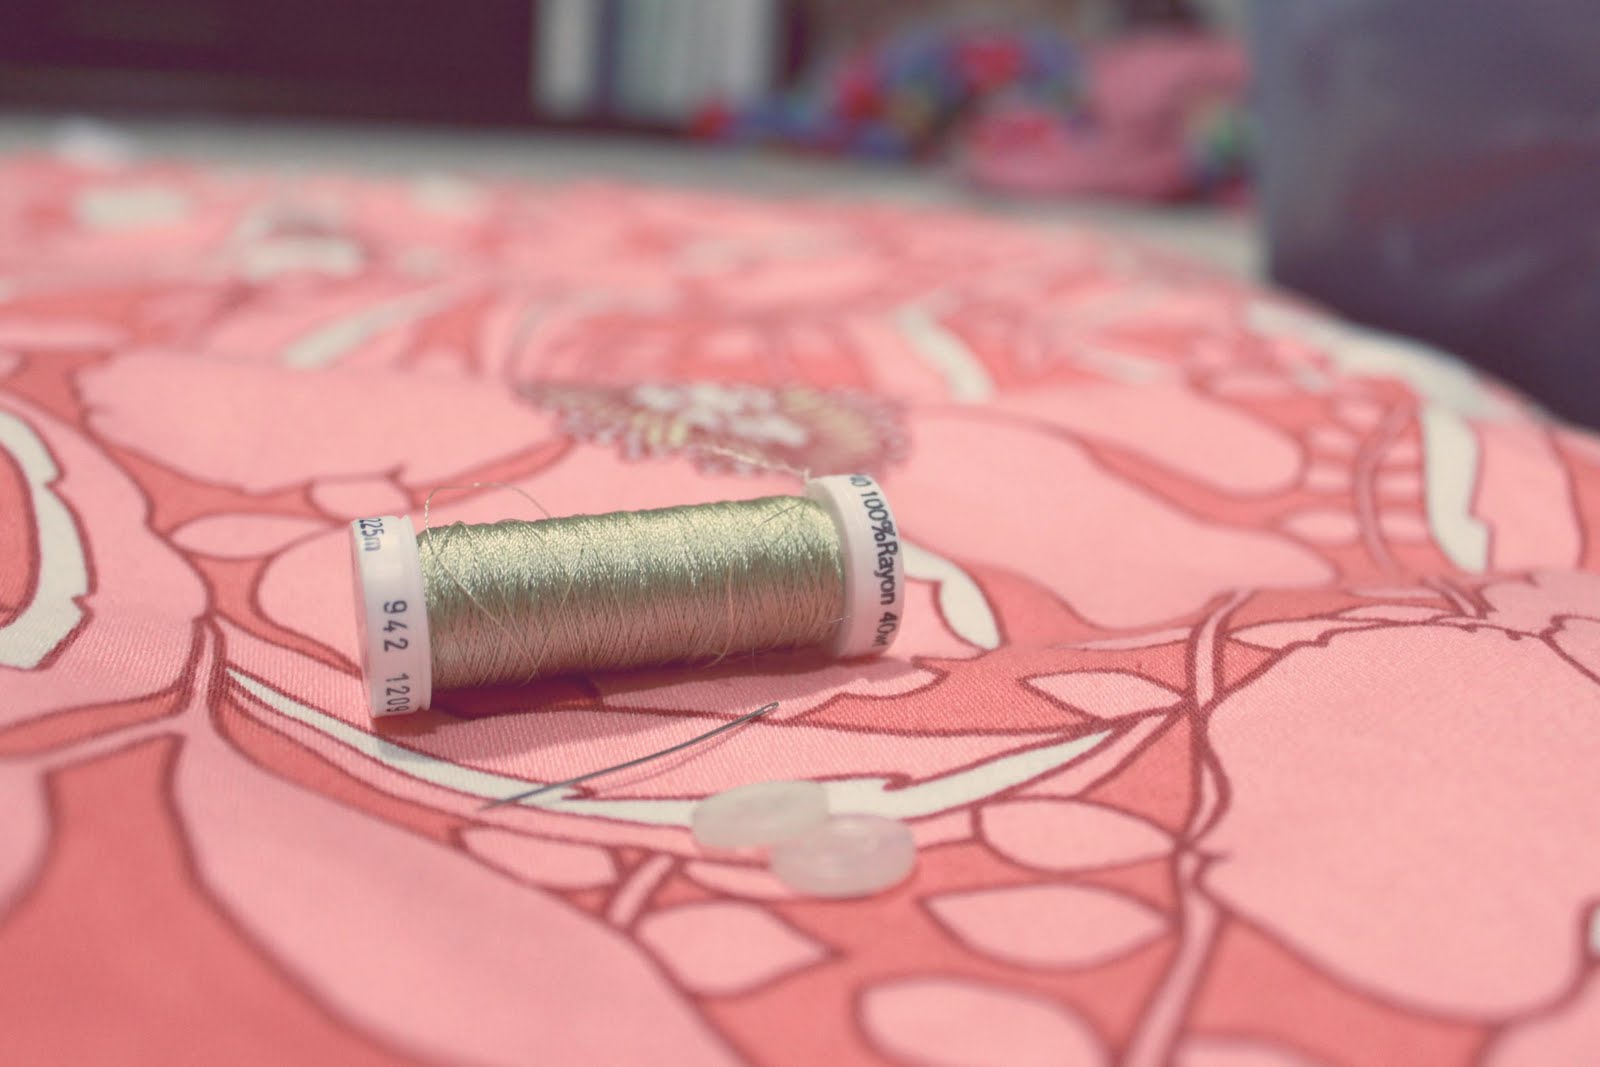
2 Sheets of Felt (each a different color)
Needle
Thread
2 Buttons
A bit of PolyFil
Approximate Completion time: 2 Gilmore Girls Episodes
Here are the instructions on how to make your own little cutie!

1. Cut out your pattern and lay it out
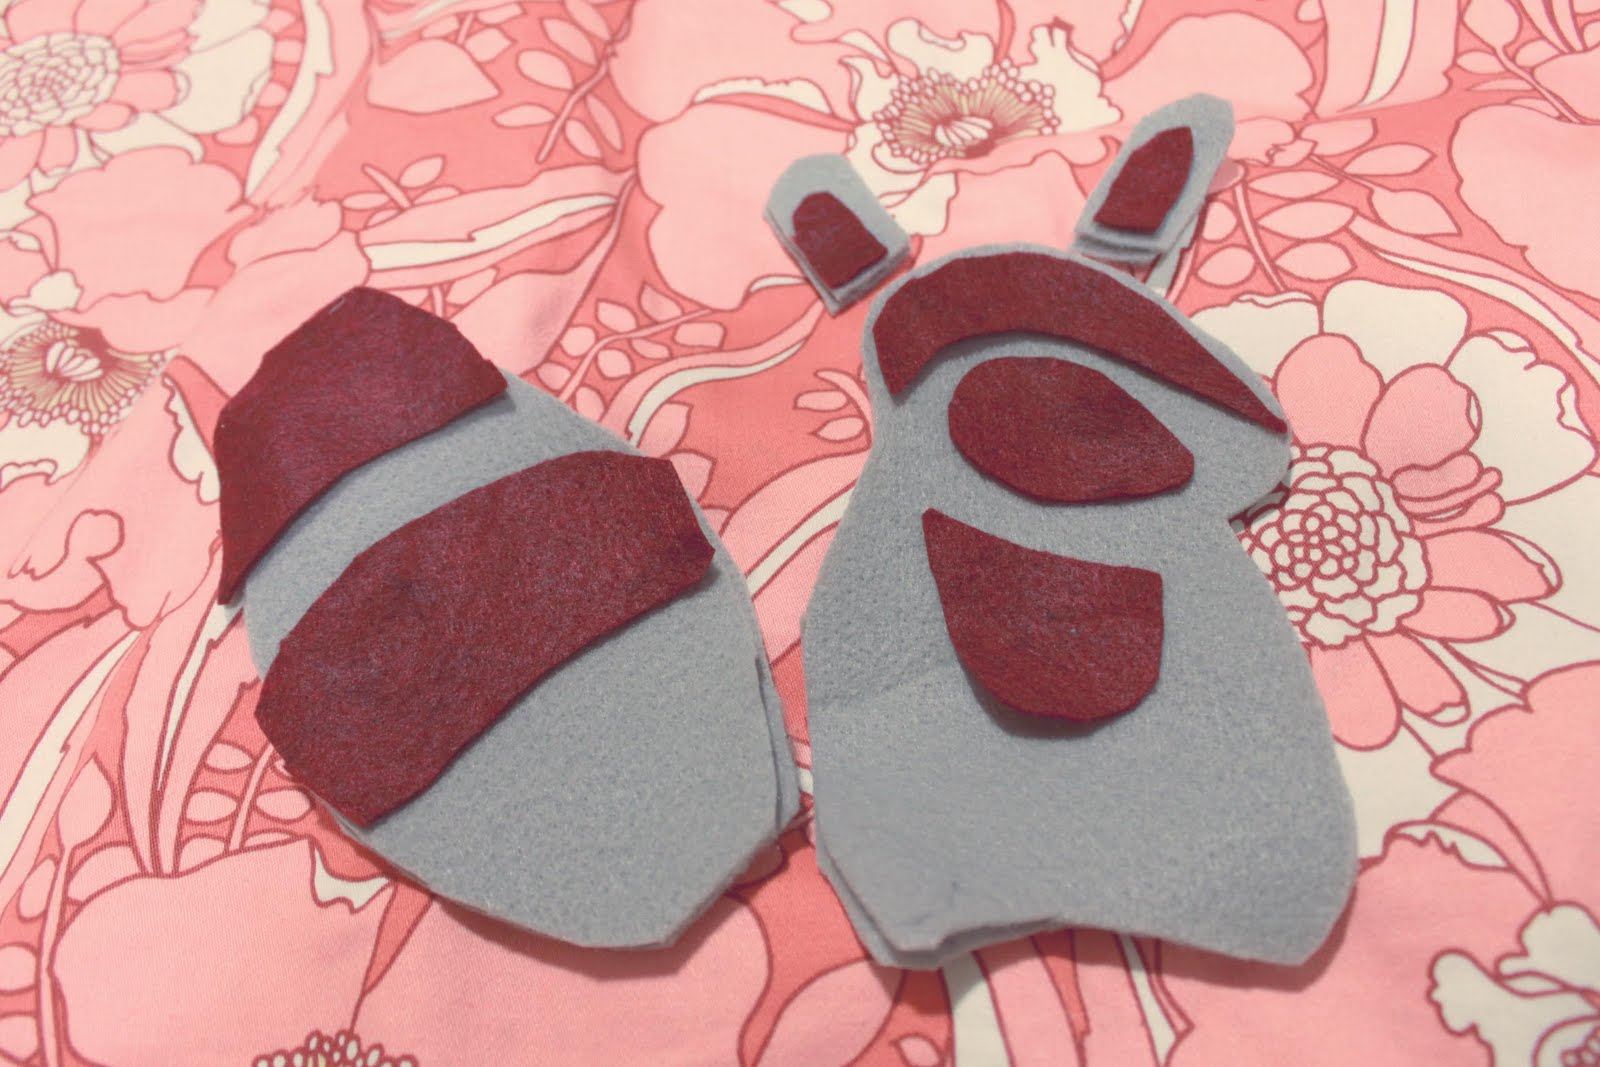
2. Trace your pattern onto your fabric and cut out (I used felt for ease of sewing)
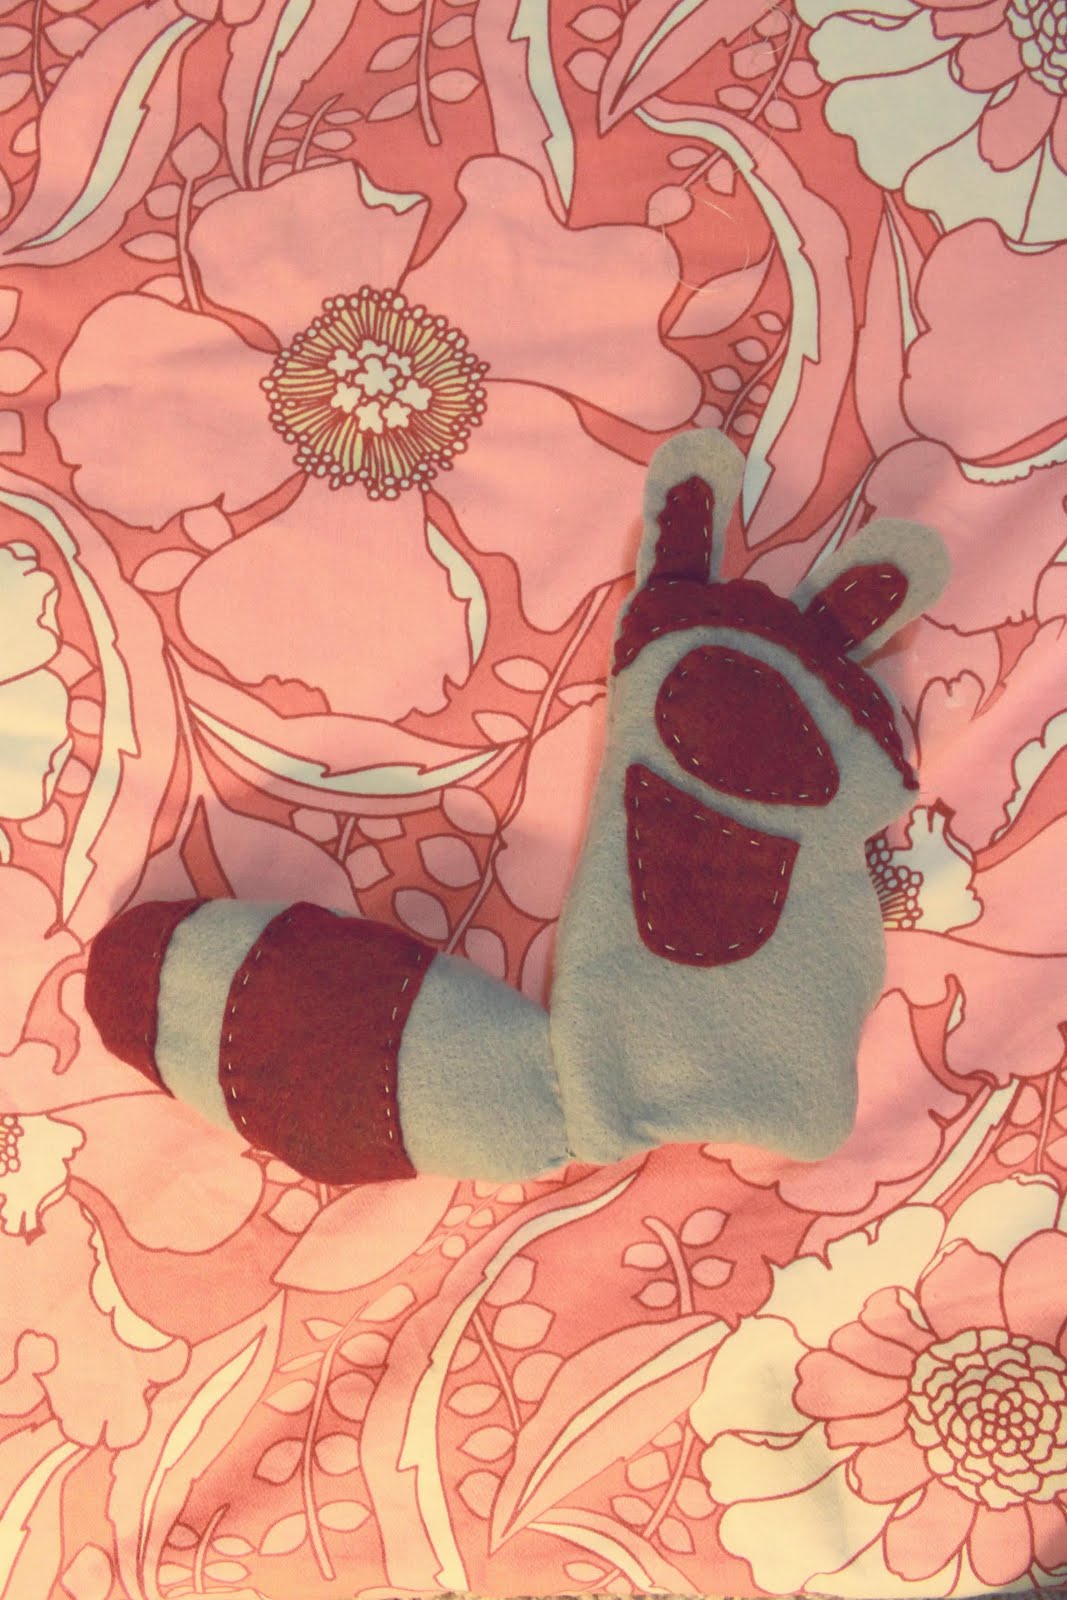
3. Get out your thread and start appliqueing your raccoons front together

4. Once all of your front pieces are attached to the body of the raccoon, flip your tail pieces so that they face each other and sew together, leaving space at the bottom to stuff some polyfil

5. Once your tail is sewn, flip it inside out and stuff a bit of polyfil in for a nice soft plush tail

6. Next, take your tail and ears and fold them down over the front of your raccoon (you can use pins if you want to hold them in place)

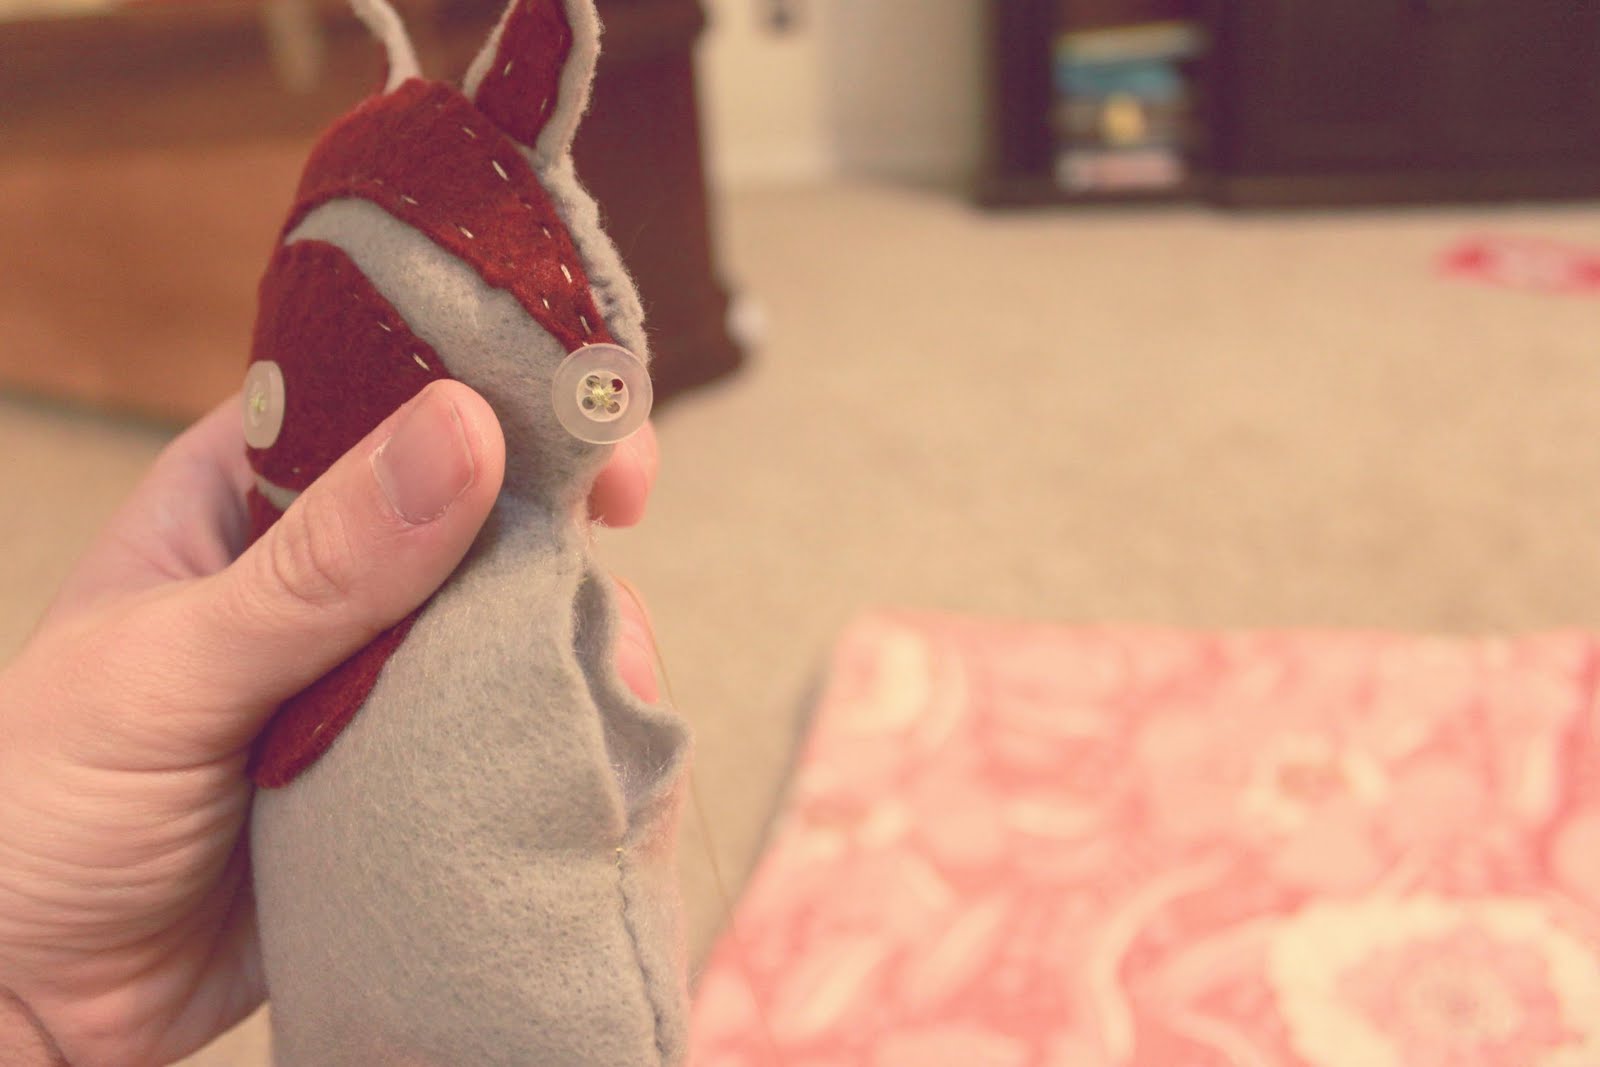
7. Take the back side of your raccoon and lay it on top of the prepared front of the raccoon. Stitch the two sides together, leaving a gap on one side to flip your raccoon right side out

8. Once you have flipped the raccoon right side out, take your two buttons and sew in place. I used one for the eye and one for the nose.

9. Now take some more polyfil and stuff your little raccoon. Once stuffed, take your needle and thread and stitch closed

10. All finished!


My Little Raccoon Loves to hang out next to my sewing box. He is so friendly that he has already made friends with a couple of owls!
I hope you like it. Let me know if you have any trouble following the pattern... I am writing this wayyyy past my bedtime.
-Stacie